Tutorial with steps to show you how to make your own Kitchen Island from Cabinets
Steps :
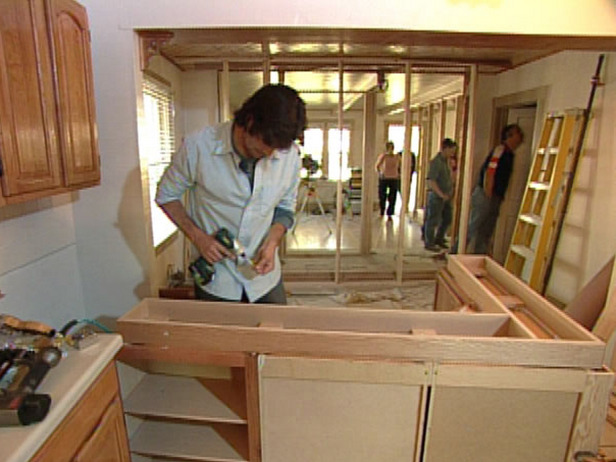
Step 1: Attach the Cabinets
Assemble the cabinets upside-down and measure. Clamp the cabinets and attach them using screws together.
Since upper cabinets usually do not automatically have a toe-kick, one should be constructed. This project demands an L-shaped toe kick making use of 2x4s. The toe-kick ought to be developed so that it sits 3 inches within on all sides of the particular cabinets and measures 4 inches high. Place spacers through the entire toe kick on the points where in fact the cabinets meet. As soon as constructed, screw the toe-kick spacers into the cabinet.
Step 3: Place the Cabinets
Flip the peninsula right-side-up and stick it in to position. Screw the brand new peninsula cabinets in to the pre-existing ones.
Step 4: Add the Counter top
Put the MDF counter top along with the peninsula cabinets. The counter top need to hang 2 inches on the door side and 8 inches on the backside. The overhang within the backside will generate included seating space. Connect the counter top simply by screwing up throughout the cabinets.
Step 5: Measure the Laminate
Measure the length of the countertop and connect with the laminate. You would like to include an inch to the dimensions, permitting your self room for error any time attaching the laminate to the counter top. Slice the laminate out utilizing a circular saw.
Work with a laminate stripper to cut laminate for the sides of the countertop. Once again, cut an inch bigger than real dimensions.
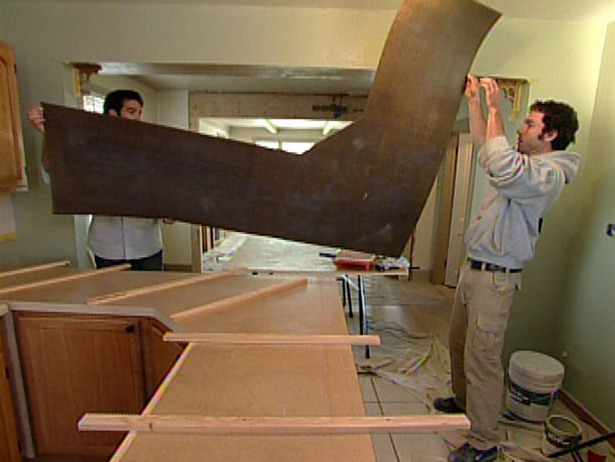
Step 7: Place the Laminate
Now prepare yourself to put the laminate. Clear the top and make certain there is absolutely no dust or debris. Utilize two coats of contact cement into the counter top sides and something coat to the lower of the laminate strips. Permit the contact cement to dry and carefully put the strips set up. Remember that after the laminate is set up, it can't be changed. Roll out any air pockets with a J-roller.
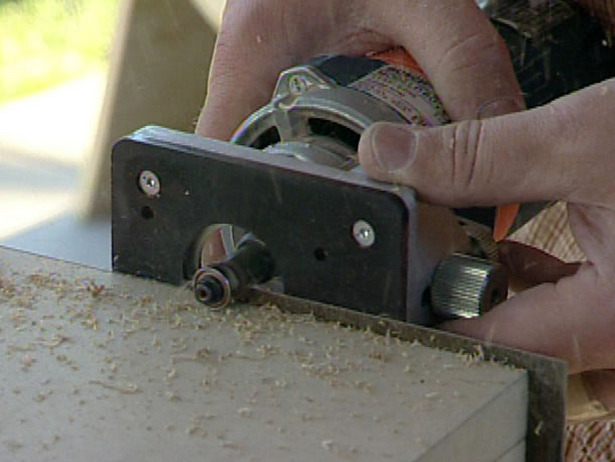
Step 8: Take away the Excess Laminate
As soon as it is totally dry, utilize the router and laminate bit to eliminate the surplus laminate. Put the bottom of the router privately of the counter top and move around in a left to right motion.
Step 9: Add the Contact Cement
As soon as all of the excess laminate is eliminated, begin focusing on the counter top. Once again, put 2 coats of contact cement to the counter top and something coat to the lower of the laminate.
After the contact cement has dried out, put spacers upon the counter top, only a foot aside from each other. Flip the laminate onto the spacers, making certain the laminate is put correctly. Remember, once set up, you won't have the ability to adjust it. Take away the spacers individually, and erase the laminate with the J-roller.
Step 11: Take away the Excess
After everything has dried, place the bottom of the router on the countertop and move left-to-right to eliminate the surplus laminate.
Step 12: Add the Backing
For a finish touch, add an attractive backing to the peninsula. Colored beadboard was found in this particular illustration.
- cabinets
- cabinet screws
- laminate
- contact cement
- countertop
- 2x4 boards
- laminate stripper
Materials :
- spacers
- clamps
- measuring tape
- drill
- circular saw
- router
- safety glasses
- laminate bit
- J-roller
- contact cement rollers
Tools: